Thursday, November 11, 2010

Mercury Glass Ornament


Supplies:
Clear glass ornament
Black spray paint
Hot glue gun
Assorted ribbons and embellishments
Self adhesive gems
Adirondack Alcohol Ink Mixatives
Adirondack Alcohol Inks (dark colors are best)


It’s only seven weeks until Christmas! Can you believe it? I really love aged and worn mercury glass. I like to scatter it throughout my home for the holidays. Unfortunately the real stuff in expensive and hard to find. So I found a way to make my own. You could use this technique for any glass surface: candle holders, frames, vases, and plates. I think it would make a great gift too.
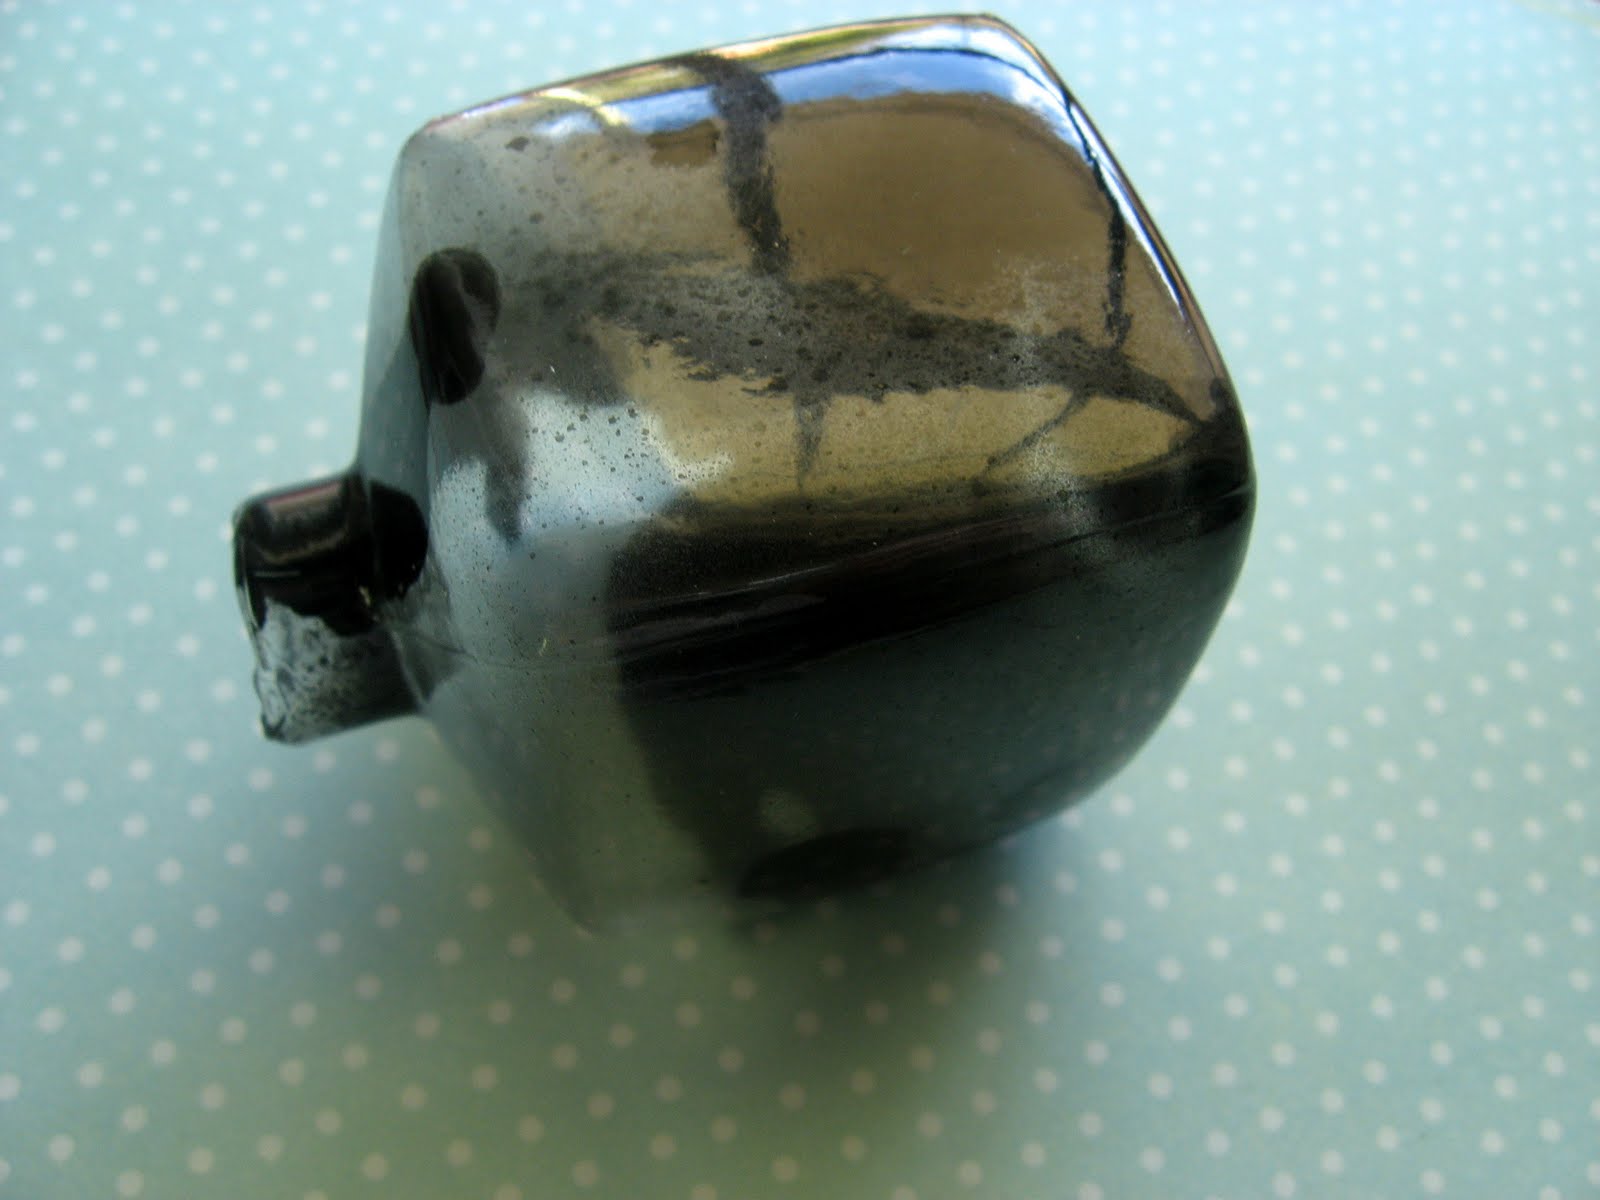
1. Take off top of ornament. Using black spray paint gently make several short sprays into ornament.(best to do outside) Twist, turn, and shake ornament to move paint around in swirl patterns before it dries. You do not have to cover the whole inside. Irregular splotches are good. Let dry. This does not take long.

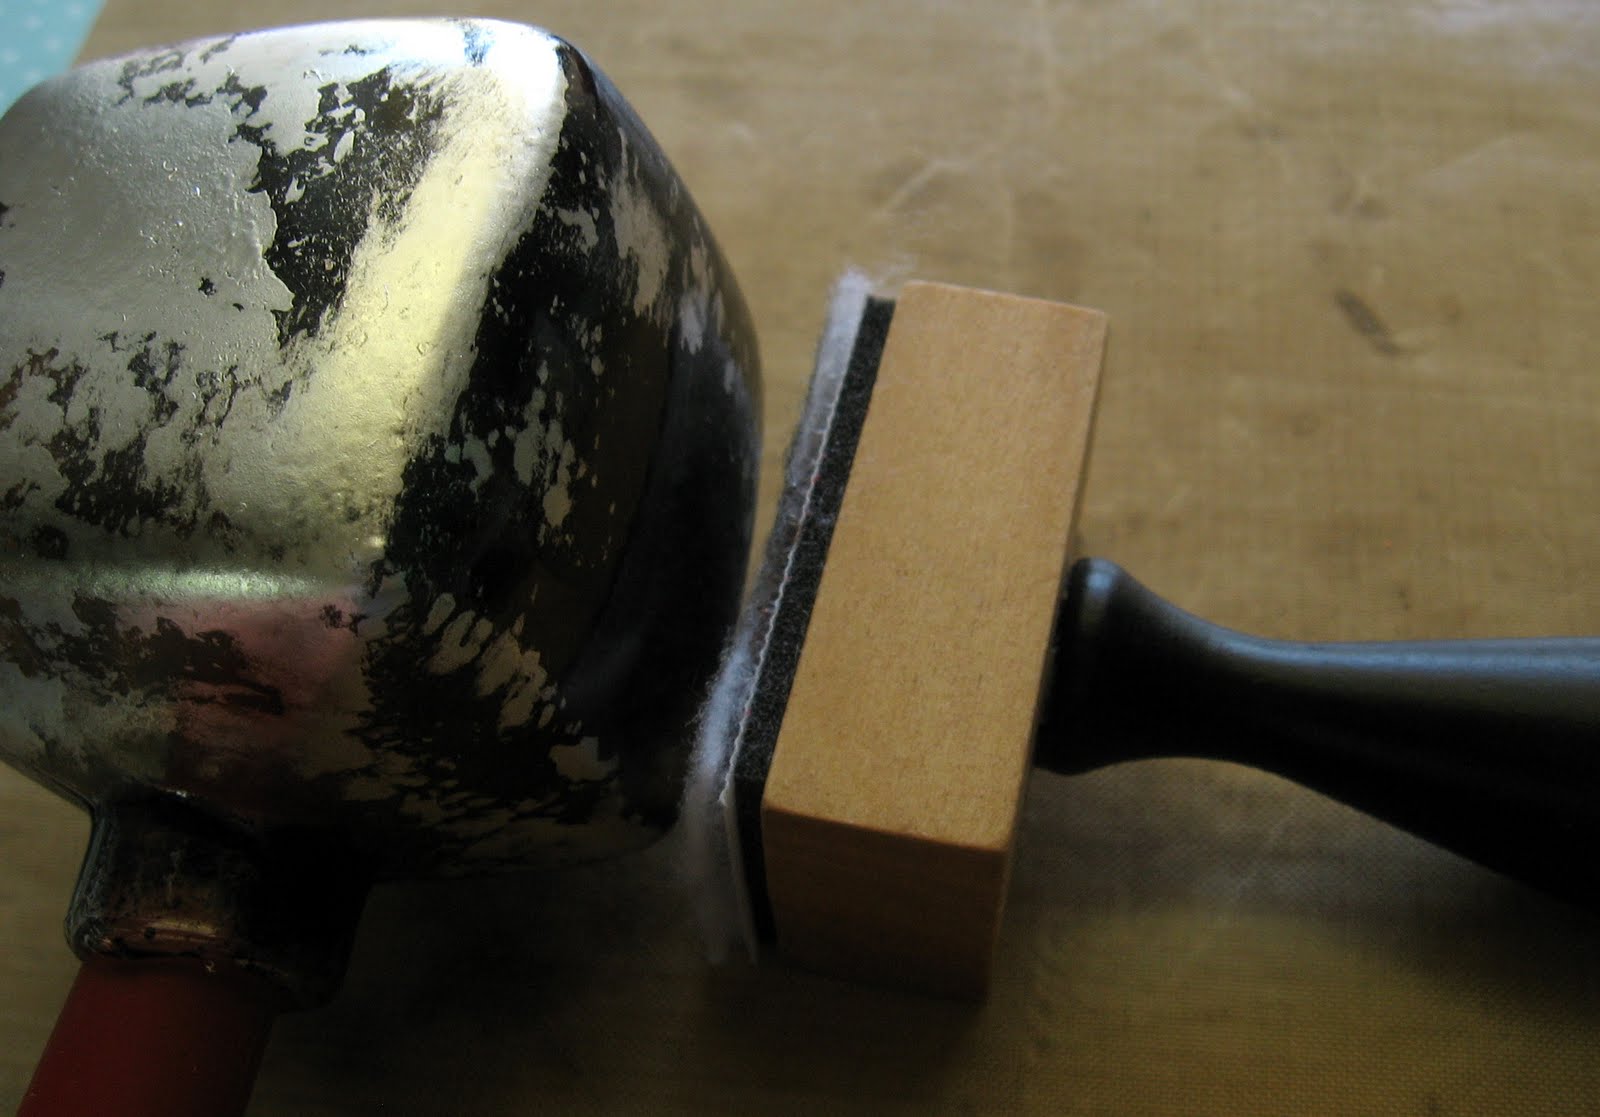
2. Stick a pencil, paint brush, or other object into ornament to have something to hold onto. Drop small dots of the Alcohol ink onto felt pad on ink applicator. Just use a random pattern using two darker colors of alcohol ink. Add a small amount of Alcohol ink blender.

3.Dab applicator onto ornament until you get the coverage you want. Let dry.

4. Use a new piece of felt and repeat step 2 with silver or gold alcohol ink mixative. Do not add as much alcohol blender. Dab onto ornament leaving spots blank for the black to show through. Make sure you dab NOT twist. Also be sure not to touch it with bare hands or it will leave a fingerprint. Let dry. Add more if necessary.

5. Add ribbon to the topper using hot glue. Apply self adhesive gem stones on each side. Tie some ribbon through the hanger. Embellish with tiny ornaments or buttons.


Don’t forget to send an email to cerri @ thelittlepinkstudio.com by Sunday the 14th if you want to be in the stocking swap! And if you try out our tutorials we would love to see what you made. You can post a picture in our Flickr Group.

Brandy

Monday, November 8, 2010

Joli Paquet Vintage Stocking Swap

Hello! Can you believe it's the Holiday season already? Well, the Joli Paquet girls are ready to kick off our holiday season with tutorials, inspiration, kits, and yep, a swap! We had several people request that we do another swap so we thought we would give it a go!

What we're swapping: We're swapping Christmas stockings with a vintage flair. You will have ONE partner, and with that partner you will swap a stocking either made by you or embellished by you. (Yes, you can purchase a pretty stocking and embellish it, but there has to be handmade touches or embellishments to it) You will also fill your stocking with happy things for your partner. The items you fill your stocking with should be thoughtful, things you would like to receive, and with a vintage charm. Try to include some genuine vintage items.

How to join? Send me an email to cerri @ thelittlepinkstudio.com, and answer the following questions for me by Sunday the 14th.
What kind of Christmas palette do you love?
Traditional
Shabby
Whites and neutral
Pastel and sweet
Please provide links to your blog, flickr, or wherever you share your work.

Give us an idea of the things that you love, or don't love.

Please provide your address, and email address.
Please let me know whether you're willing to ship internationally or not, and be aware if you are that you will need to ship your package earlier than the deadline.

Stockings will need to be mailed by December 6th so that your partner will have time to receive your stocking and enjoy it!

Here's some wonderful stocking inspiration I found on flickr.
(please click on the photos to be taken to the original source and photo credit)

Sounds like fun, right?
Don't forget to send me an email by Sunday the 14th, and I will have partners assigned by the 18th.
I hope you'll join us!
Please feel free to add the button above to your blog if you would like, and the new holiday Joli Paquet button can be found in the sidebar to the left. Please tell your friends, and help us spread the word about our holiday season!
PS, Didn't Cindy do a great job sprucing up the blog and making it feel festive? Thanks Cindy!

Tuesday, October 26, 2010

Quick and Easy Table Setting Accessories


Hi everyone! We hope you are enjoying all the Holiday tutorials here on Joli. Today I am going to show you how to add a quick and easy special touch to your Thanksgiving Holiday table. This quick project will make your table look like you spent hours on it. It's a project even the kids can help with.


Today I am making handmade napkin rings and glass charms. Let's get started.
You will need:
Cardstock or construction paper
Circle punch in two sizes (this can also be done by hand)
Marker or pen that will show up on the paper you choose
Vintage book page or scrapbook paper
String, yarn, or ribbon
Decorative Scissors (optional)
Scissors
Glue or double sided tape
Stapler


Cut your vintage book page or scrapbook paper in strips that are about  1" wide and 6" long. Cut as many as you need for napkin rings. This will be the part the ring part that the napkin goes through.
Also cut the same number of circles. You can use a circle punch or use a template and hand cut your circles. I used a scallop punch. You can do any size you like. I did 2" scallop circles for mine.


I used scallop scissors to trim the long sides of my book page strips. This step is optional. You could keep them straight or use another pattern decorative scissor.


Now staple the two ends of the strip together to form a ring.


Use your pen or marker to decorate your circle any way you want.


Write your message on your circle. You can also personalize each napkin ring so they also serve as place cards.


Apply glue or double sided tape to back of each circle.


Glue circles to paper rings on top of staples. You are done with your napkin rings.


Now let's make the glass charms. Punch or cut as many circles as you need. Decorate the front of the circles with markers or pen.


Punch a small hole at top of circle.


Write names or any other identifier on each circle.


Attach a length of string or ribbon to each circle. This will be used to tie to the stem of the glass.


And you are done! A quick and easy personalized touch to your holiday table setting!

Happy Holidays and Happy Crafting!

Thursday, October 21, 2010

Do you have 30 minutes?

30 minutes is about all you will need to create this cute and slightly spooky shadow box.
So, let's gather up your supplies. You'll need:
A small kraft jewelry box
A strong adhesive, and I love the Ultimate Glue for paper crafting projects like this. It bonds very quickly and will hold just about anything.
Black craft paint
Cardstock (I used kraft cardstock)
Fine tipped scissors
Fine tip black sharpie
Foam brush
Stickles glitter glue in Platinum and Crystal. (this can be substituted with any glitters or glitter glues that you have on hand)
Scrap of vintage ledger paper
And not shown, but you'll also need some black seam binding or lace, and the following image.
Now, you'll need two copies of this image. Just right click and save it to your computer, and then print two different copies of the image in the size to fit your box. I printed mine on kraft cardstock as I really liked the look of the black/kraft color combination for this project.

Once you have printed your images and gathered your supplies we're ready to begin.
You're going to want to paint the inside of your box with the black paint. I painted a couple of coats to cover the inside of my box, but I also let it be a little "messy" with the box background showing through some.
While that's drying, cut out your images.
The reason I had you print two different images is that we're going to cut off the little girl from one of the images, and from the 2nd image just cut out the little girl and the surrounding forest elements. Don't worry that her little feet are left in the image with the tree, you won't be able to see that when the box is put together. Be sure to leave about 1/4" -1/2" on the bottom of each image. Then fold that over creating a little ledge, making sure to crease very well.
I apologize for this photo being a little out of focus, but what you're going to do is to go over the "face" in the tree with your fine tipped sharpie just to accentuate it a little further. You may not need to do this if you print your image on white cardstock.

Embellish your images with tiny bits of the Stickles. I used the platinum on the flowers and some of the leaves, and the Crystal on the little girl's dress and the other leaves of the tree. The Crystal Stickles has a kind of iridescent "glow" to it, which I think adds to the slightly spooky feel of the shadow box.
Next, you'll want to cut out some little "cloud" shapes from your ledger paper scrap. I liked the effect of having the handwriting in my clouds.
Now, while everything is thoroughly drying, you can take a moment to go fold that load of laundry or unload the dishwasher. Sheesh, is our work EVER done?
Ok, ready to begin again?
First, glue your clouds to the back of you box. You'll want to eyeball where the placement of your tree and little girl will be and make sure your clouds will be visible.
Add a line of your strong adhesive to the ledge we created on each image and glue those to the bottom of your shadow box. You may want to place the tree a little further back than the little girl. Make sure the little girl sits in front of where her shoes are in the first image though, we really don't want our little Halloween scenes to be THAT spooky. :) Hold the images in place for just a moment while the glue sets up.
One you have adhered both images to the box, you may want to embellish your night "sky" with a bit more platinum Stickles. I meant to do that, and forgot.

Finally, you will want to run a line of glue around the outside of your box, all the way around. Add your seam binding and tie into a bow at the top. I frayed the edges of my ribbon just a bit.
That's it! Quick, easy, and cute.
A couple of thoughts. If your tree seems like it needs a little extra support, you can glue a tiny wooden spool to the back of the tree and the box. This will provide hidden support to your tree. You could probably do the same thing with a stack of pop dots.
I think these little scenes would be darling at each place setting on your Halloween table. You could add a little nameplate in the bottom right hand corner of your box, making the name part of the scene. Or you could add a tiny tag to the top of the box with where the bow is. You could create different scenes for each of your guests.
Or, it's cute just to add it to your other Halloween decorations.
I hope you had fun with this!
Cerri xoxo

Tuesday, October 19, 2010

Vintage Autumn Photo Board Tutorial

Old family photos are one of my most treasured possessions. I'd like to share this tutorial for making your own autumn themed hanging photo board using one of your vintage photos.


Materials Needed:
Pre-cut, Shaped Chipboard Piece
Autumn Colored Scrapbook Paper
Vintage Photo (photocopy your image)
Vintage Ribbon
Seam Binding
Silk Flower
Vintage Ledger Paper
Button
String
Ink Pad (copper colored)
Autumn Themed Written Image
Tacky Glue (clear gel)
Glue Stick


Tools Needed:
Scissors
Heavy Hole Puncher
Corner Rounder
Sandpaper
Puncher in Round Shape
Computer/Printer
Sewing Machine

Putting it all Together:

Print your photo image. Trim it to size, use a corner rounder to round the edges, and apply ink to the edges for an aged look.


Run the photo image through the sewing machine, stitching 2 zig zag patterns along one edge, and a single zigzag pattern along the other edge.  Trim the excess thread.


Lay your chipboard over the scrapbook paper and trace the outline of the chipboard piece. 


Carefully cut out the shape and adhere it to one side of the chipboard using a glue stick.  Run sandpaper along the edges of the chipboard to smooth any rough edges and align the paper neatly to the chipboard piece.


Cut out a round scalloped shape from the ledger paper.  If you can find an autumn date, it will go along nicely with your theme.


Next trim and ink-edge your "autumn" themed written piece with ink. 
This image was taken from a vintage music sheet. I enlarged a portion of the song title, copied it on heavy cardstock, and cut it out.


Punch two holes near the top of the chipboard piece.
Practice laying out your pieces to get the look you like. 
After you have decided on the placement, begin by adhering the vintage photo image with glue stick.


Next, adhere the vintage ribbon with tacky glue (clear gel formula). Part of the ribbon may overlap the edges of the chipboard piece.


Adhere the silk flower with tacky glue.


Adhere the scalloped ledger sheet cut out.


Tie string through the button holes and trim the string.


Adhere the button near the scalloped ledger piece.


Adhere the autumn themed written piece of cardstock. 
Next, ink along the edges of the exposed chipboard. (Note: This step can also be done after you sand the edges of the scrapbook paper and before you begin adhering embellishments...I just forgot to do that!)


Put seam binding ribbon through the punched holes, tie, and hang your completed piece!


The project is a great way to display your treasured photos. The autumn colors used make it a perfect accent for your Thanksgiving decorations.  The photo I used in this project is of my grandmother.  Her daddy had propped her up in a tree and snapped her picture...one of my very favorites!

I hope you enjoyed the tutorial.

Kelly from Bleu Bird Nest